|
Now that you have all the big kids' artwork matted, you've got a nice little takehome movie night project for yourself to do the rest. No probs, it's just K-2, not so daunting anymore, is it?  Next, prepare panels of work. This is the big secret of my method, besides the enlisting of child curators and gallery technicians. Hopefully you have access to a big roll of bulletin board paper. I wised up and bought my own roll of black. If you don't have your own, surreptitiously get big pieces of it from the teachers' room until you have probably 4 6-8ft pieces for each class. I think it looks slick to have all one color (especially black), but you could also color code the various classes or grade levels if you want. Now for the vacation or weekend time. You are going to be doing this for K-4 yourself for the most part. Get a helpful loved one or friend to help if you can, but it's really not the worst way to spend some time. Know that you will have to teach them these steps and ask them to follow them exactly as given. Trust in the steps and follow them. Don't get tempted to see one piece of art through from beginning to end! We are a machine and we must do this factory style! Step one: 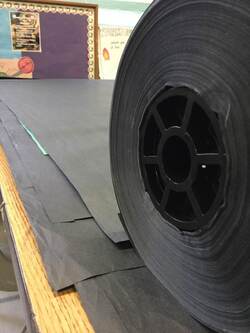 Roll out an 8ish foot piece of paper onto a long table or a clean floor (table will be better for your back, but one does what one must). Notice the ease with which this is done when one has one's own roll of paper. Fold the top 3 or 4 inches under and label with the teacher's name. Label it in such a way that a kid or a parent helper will be able to understand it, not in your scrawling codenames. I use a silver Sharpie for this, cause I'm fancy. Step two: 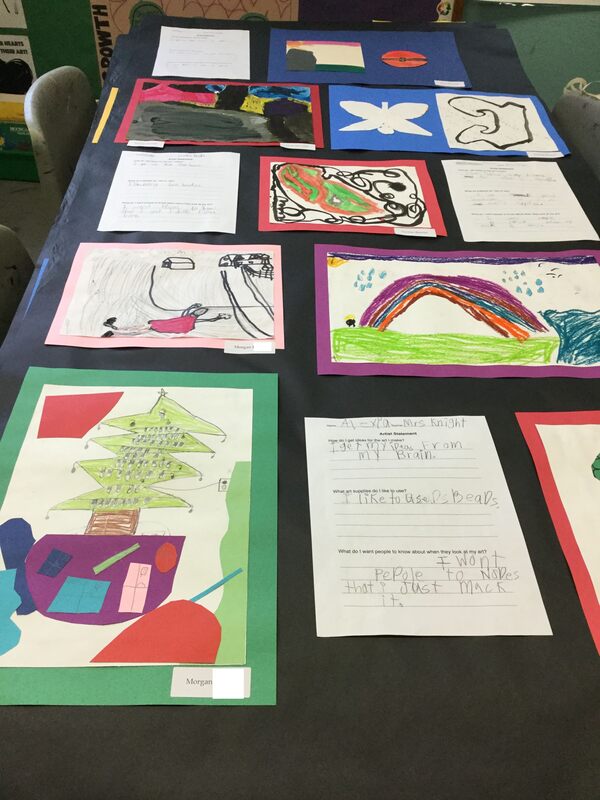 Lay out a bunch of artwork and artist statements. I tend to make clusters of kids' work, but you could also do something more thematic or go for a specific aesthetic. You'll get about 12 pieces of 12x18 work on each one, usually. Step three: 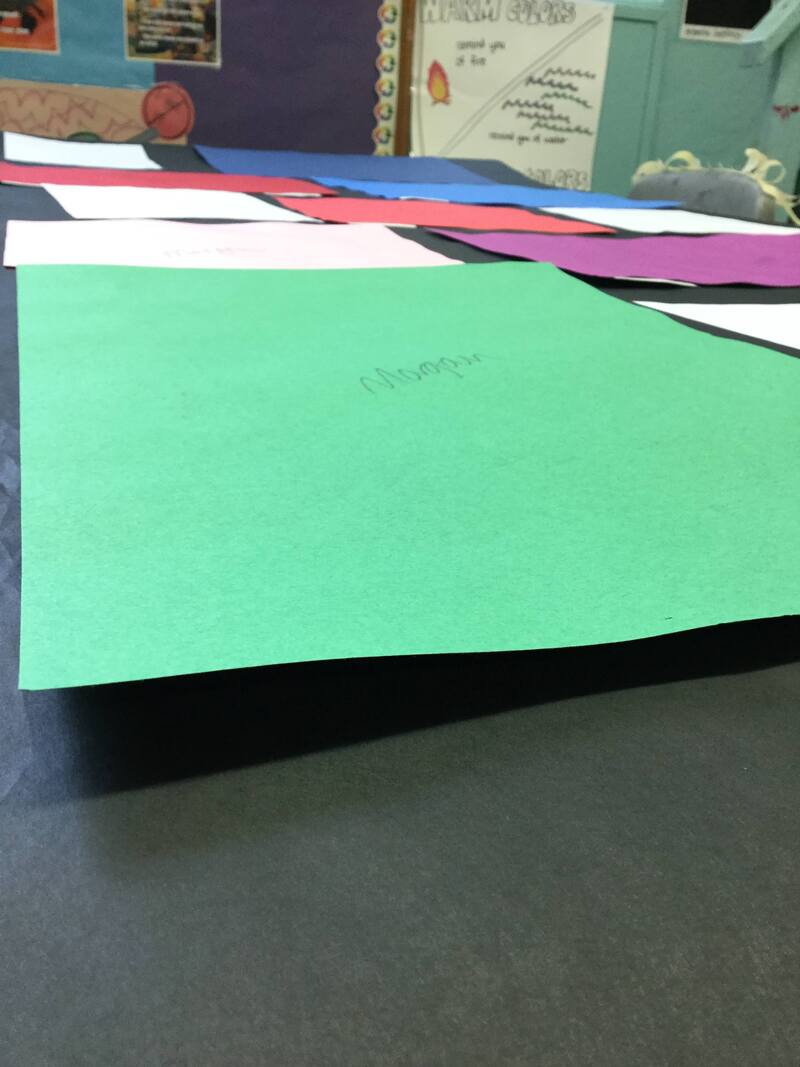 Flip em face down. Sing that Missy Elliott song as you do this. It is worth it, and you can work it! I know you can! Step four: 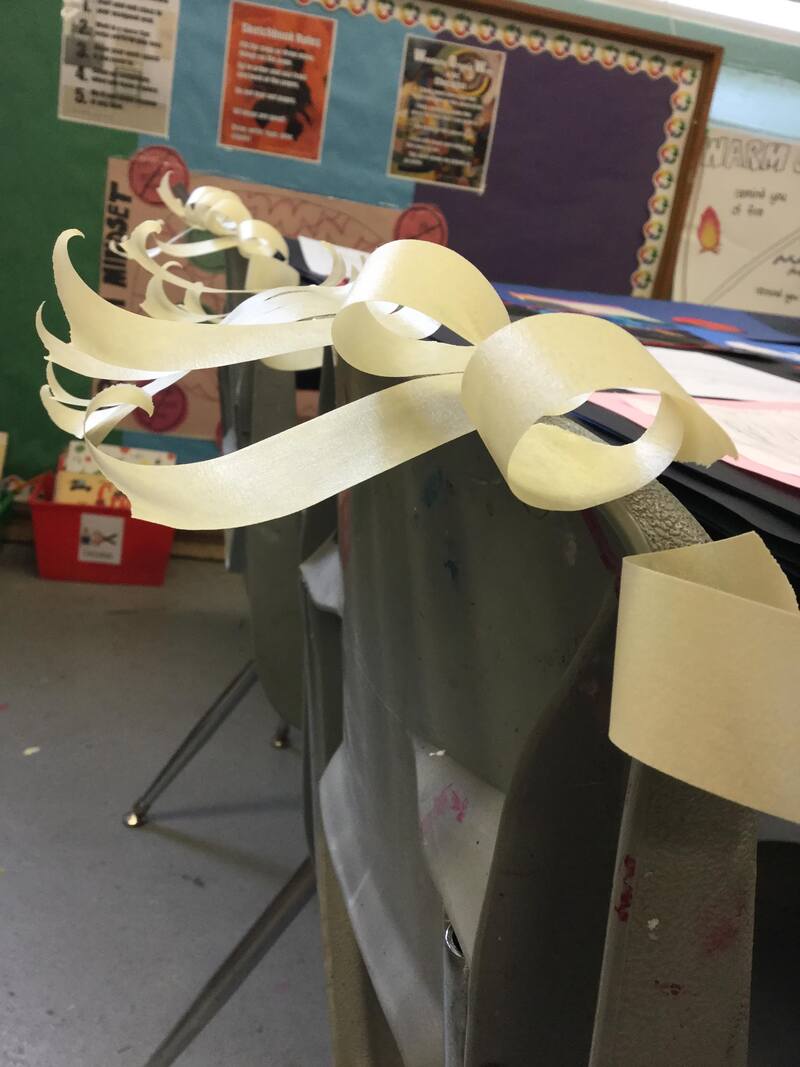 Prepare masking tape strips. I wait til a few days before and buy the good stuff from the store myself, as I do not trust the school supply of tape. Do not be tempted to roll and stick them now. Just tear them and set them on the edge of a chairback or the table. One thing at a time. If it soothes you to count, know that you need 4 strips for each piece of work. Step five: 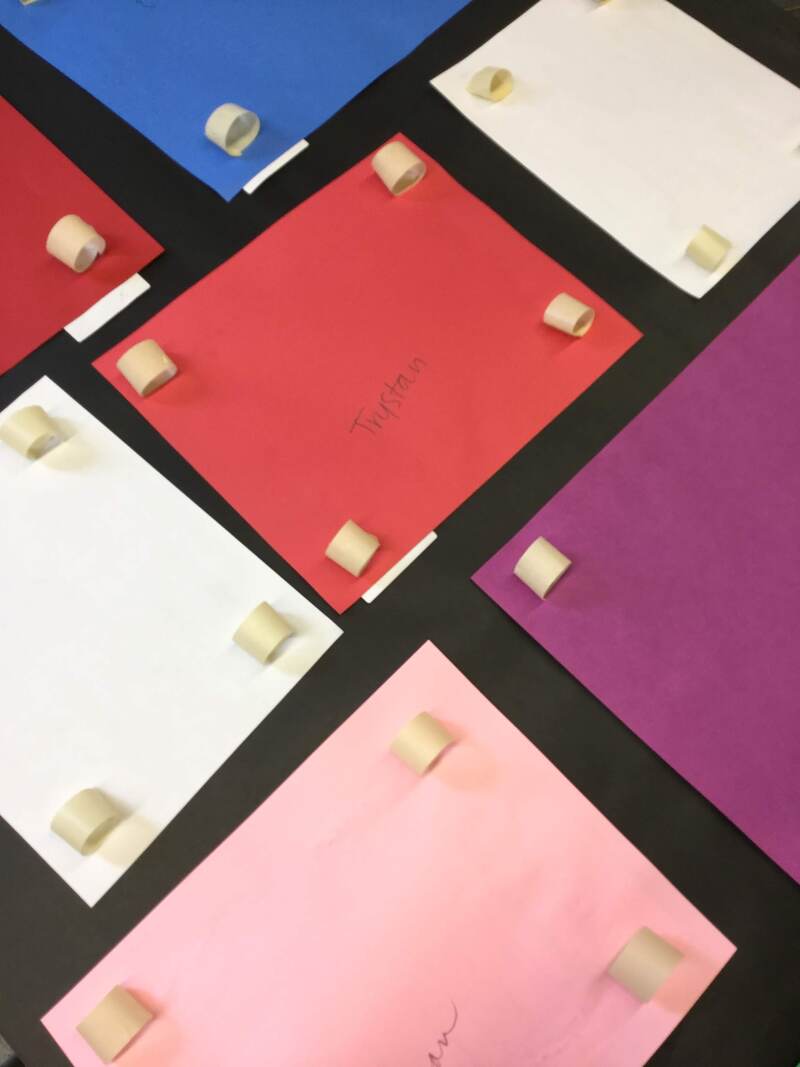 Roll and stick. Note the placement of the rolls - when the panel is hanging vertically from the wall, they will be in cup orientation, rather than wheel orientation. This prevents artwork from rolling down the wall on little tapey wheels. Step six: Yes, this is the same photo, whatever. Flip it over again and push em down real good. Here's another soundtrack opportunity just waiting there for you. Step seven:  Roll out another piece of paper right on top of this and begin again. Do not ignore or change this step. Having a stack of panels is key to being able to move them around and eventually out of your art room, as the papers will all protect one another from folds and dents. If you have 1 or 2 inches of panels, you can gently flop them into thirds and move them as needed and not have to worry about harming the work. Now, teach grades 5 & 6 to do this. Do one whole panel in front of them, talking it through. Then have them get into groups and have them curate their own panels. Be prepared for some decisions to be made that you may not have made yourself. This is all ok. They are the artists, remember? You're just the tourguide.  Kid-curated art show panels.
Stay tuned for more about art show prep in the next post!
0 Comments
Leave a Reply. |
About MeI have 9 years of art teaching experience in grades K-12. I recently finished an MA in Art Ed at AOEU. This blog is a collection of thoughts and resources for art teachers. Archives
September 2022
Categories
All
|
 RSS Feed
