|
One more thing, and I'm sure you know this in general, but this worked really really well with my specific demographic: Art materials raffles! 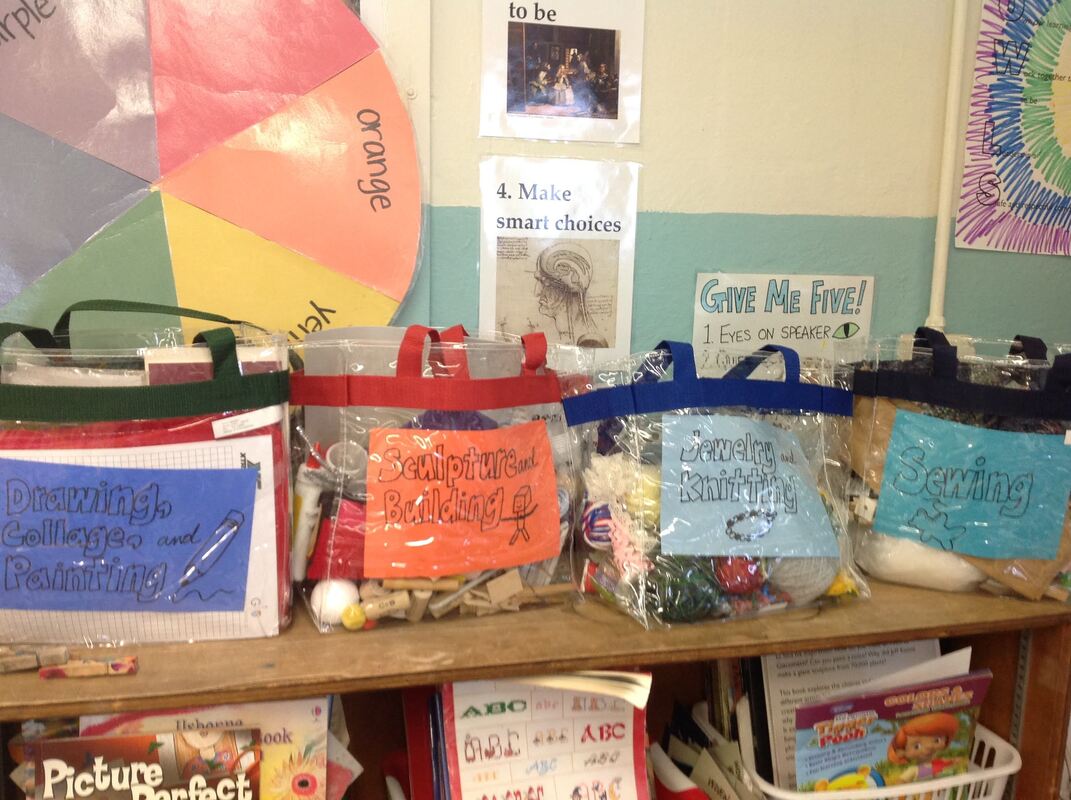 You know how you get those weird donations and you're like, ok thanks, but..... Or things that are a bit broken but still usable, or things that you have one or two of, but nowhere near a class set? Raffle bag time!
Collect stuff all year. Pay attention to what kids like and keep an open mind. Start building the hype on these a month or so before the art show. Get or make some sort of ticket system and bucket collection bin, and enlist some trustworthy older kid or parent volunteers to run it. You'll make a ton of money, get people in to see the show, and make some kid's day!
0 Comments
Here we go, it's getting closer. The first thing to put into place is getting some advertising made, sent home, and posted around the school. Enlist one grade level to do this. I used first grade, I think, because it made for a wicked cute product. I can't seem to find a photo of this, unfortunately. Just throw together a one day lesson on graphic design. Show them a poorly designed and well designed version of the same information, talk about what makes one work better than the other - basically, which one gets your attention and gives you the info that you need to know without confusion - and set them loose. I made a packet of all the stuff that needed to go on the fliers and they cut and pasted. Have a section of the packet with several options for school name (different typefaces, slightly different sizes), date, time, location within the school, blurbs about special attractions like raffles or performances, and any other things you need, and they can choose which option and where to place it on the page. They'll love it and they will be super cute. They can then take black sharpies and do some illustrations or add graphic elements like arrows if they want to. I would make a plastic sheet that had a disclaimer at the bottom ("made by Mrs Smith's first grade artists") and photocopy 5 or so of each kid's design with that overlaid, so no one would think I had completely lost my marbles. Depending on your school, you might want to add a thing at the top that says "***first notice***" and later, "***second notice***" so that no one can accuse you of NOT sending notices in enough time (when in actuality it's the kid's messy backpack, of course). I learned this from my wise, wise music teacher friend who was burned by this one too many times. Next, show signage. 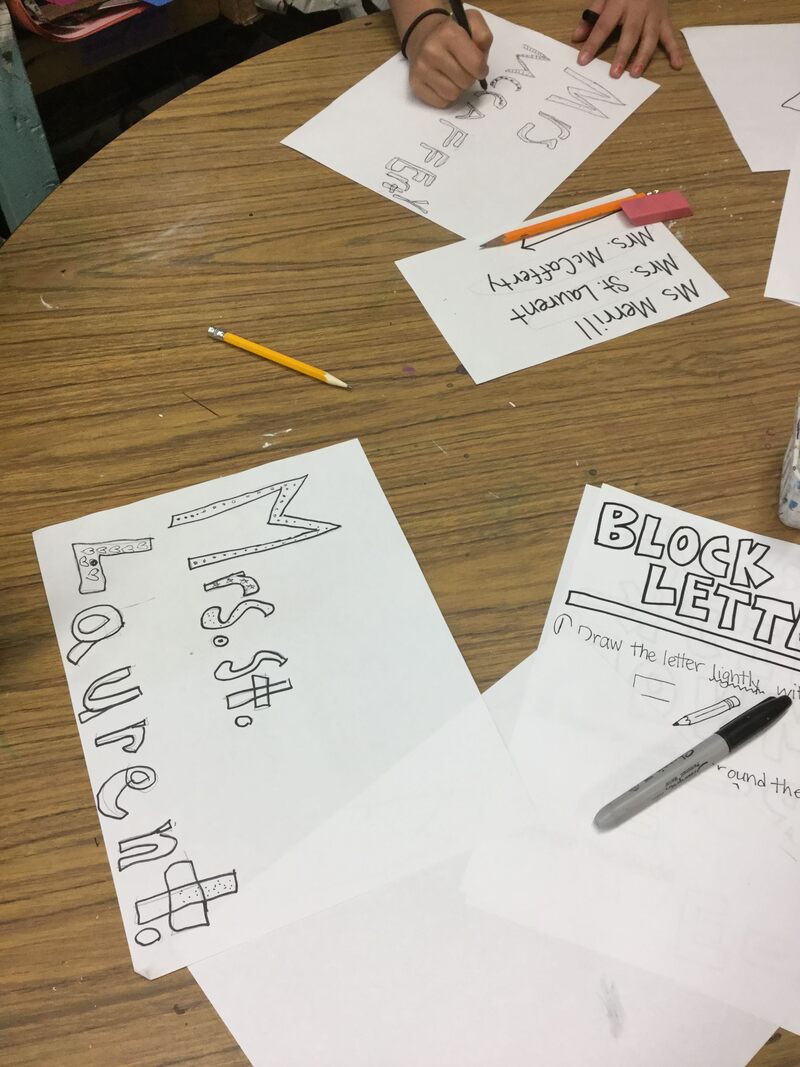 I had 3rd and 4th do this, I think? Maybe 2nd, depending on the group? If they haven't already learned block lettering, this is a perfect opportunity. You can see that I handed out a list of needed signs to each group to make sure I got the ones I needed, and that they were spelled correctly. They can go nuts with zentangly designs if there's time, but don't have them add color. That's for K-1 to do later. Also have them do general show signage. Don't forget that you will want signs to hang above/near the 2D panels, plus some general directional stuff if your school is big (6th grade this way, etc), plus signage for your 3D area. 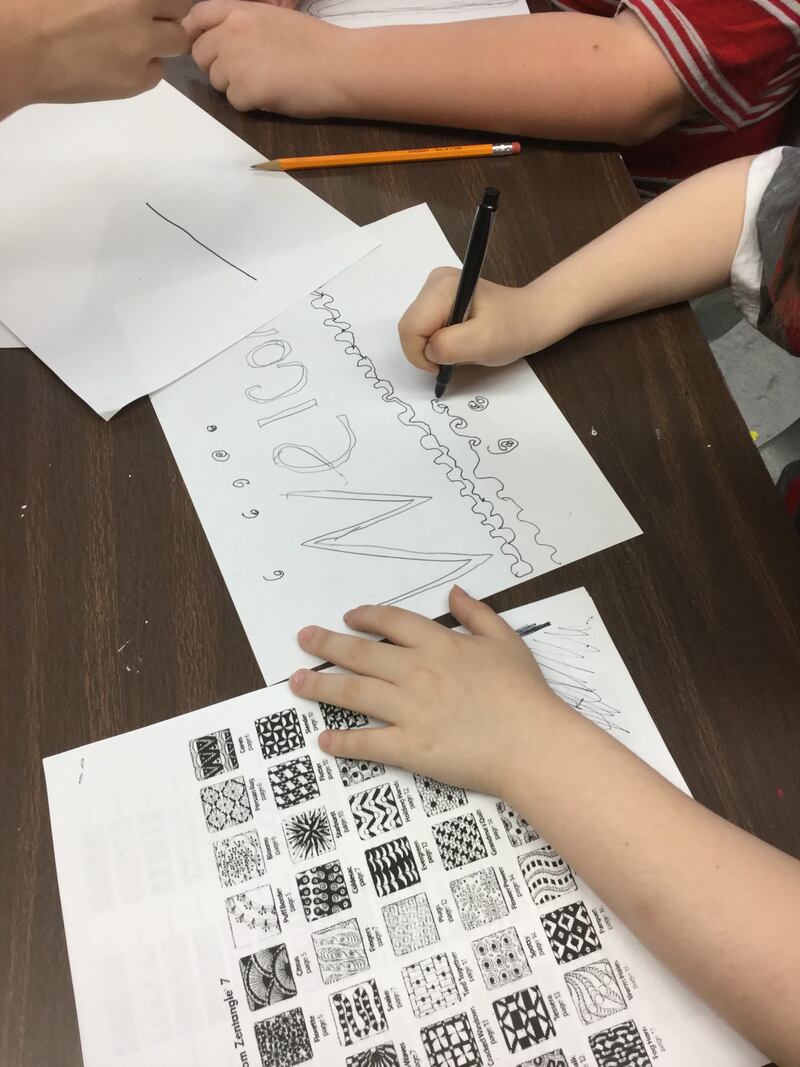 At some point, maybe T-2 or T-1 til art show, have kinders and maybe firsties (hell, anyone, really) do some coloring of these signs. You need a bit of a mental break at this point. They can also mat them on colored paper if you want to really look like you've got it all together. On THE BIG DAY, not before, have your 5th and 6th graders help you with the installation. Bring everything down to wherever you are going to have the bulk of the show, show them what to do, maybe make some teams or some specific jobs, and get it done. I could usually get the majority of the show hung in that 40 minute period with all those helpers, and that age is dying to stay after school and help more if it's not finished by then. Depending on the wall composition, you can use tacks, staples, or double stick tape, though check with the custodians first :(. Duck tape works in a pinch, but you can't really rely on it for long. You'll also need spare masking tape, spare labels and pens/sharpies, a few stepstools, and some deep breathing. Hopefully, if you have cinderblock walls, your 6 months ago self thought to request cork strips to be installed 6 or 7 feet above floor height all along the art show hallway. Get in your time machine and make that happen! 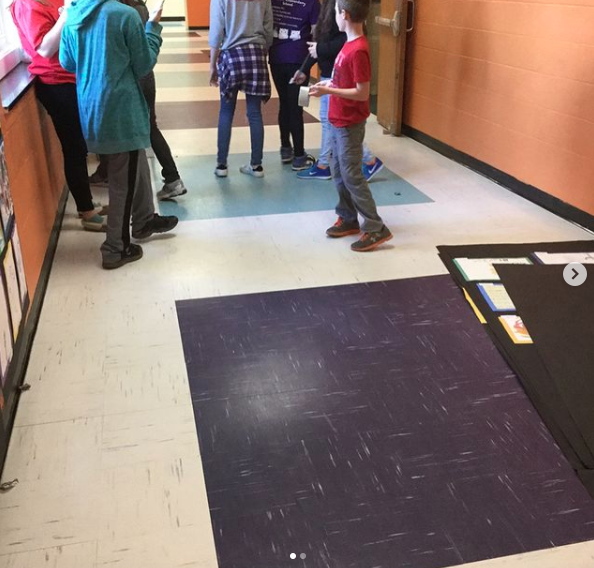 Somehow I don't have the original photos, so these are stolen from my old classroom instagram. 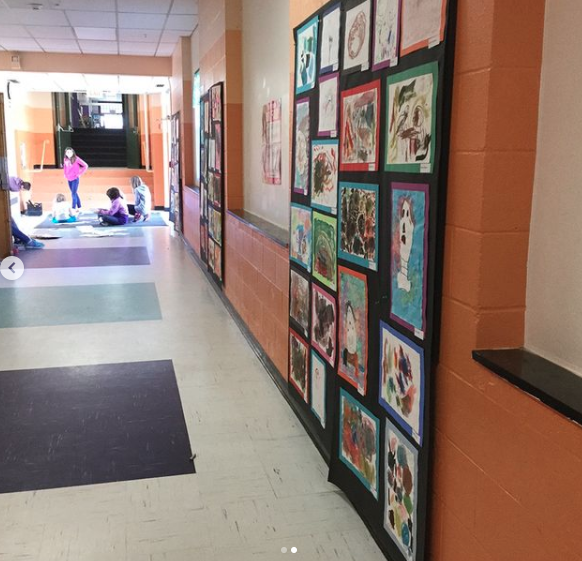 Hopefully you can get some sort of afterschool crew and/or a few helpful parents. Also a nice opportunity for community service for the high schoolers!
One final (I think) post with other art show goodies to come! Now that you have all the big kids' artwork matted, you've got a nice little takehome movie night project for yourself to do the rest. No probs, it's just K-2, not so daunting anymore, is it?  Next, prepare panels of work. This is the big secret of my method, besides the enlisting of child curators and gallery technicians. Hopefully you have access to a big roll of bulletin board paper. I wised up and bought my own roll of black. If you don't have your own, surreptitiously get big pieces of it from the teachers' room until you have probably 4 6-8ft pieces for each class. I think it looks slick to have all one color (especially black), but you could also color code the various classes or grade levels if you want. Now for the vacation or weekend time. You are going to be doing this for K-4 yourself for the most part. Get a helpful loved one or friend to help if you can, but it's really not the worst way to spend some time. Know that you will have to teach them these steps and ask them to follow them exactly as given. Trust in the steps and follow them. Don't get tempted to see one piece of art through from beginning to end! We are a machine and we must do this factory style! Step one: 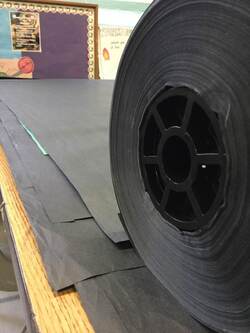 Roll out an 8ish foot piece of paper onto a long table or a clean floor (table will be better for your back, but one does what one must). Notice the ease with which this is done when one has one's own roll of paper. Fold the top 3 or 4 inches under and label with the teacher's name. Label it in such a way that a kid or a parent helper will be able to understand it, not in your scrawling codenames. I use a silver Sharpie for this, cause I'm fancy. Step two: 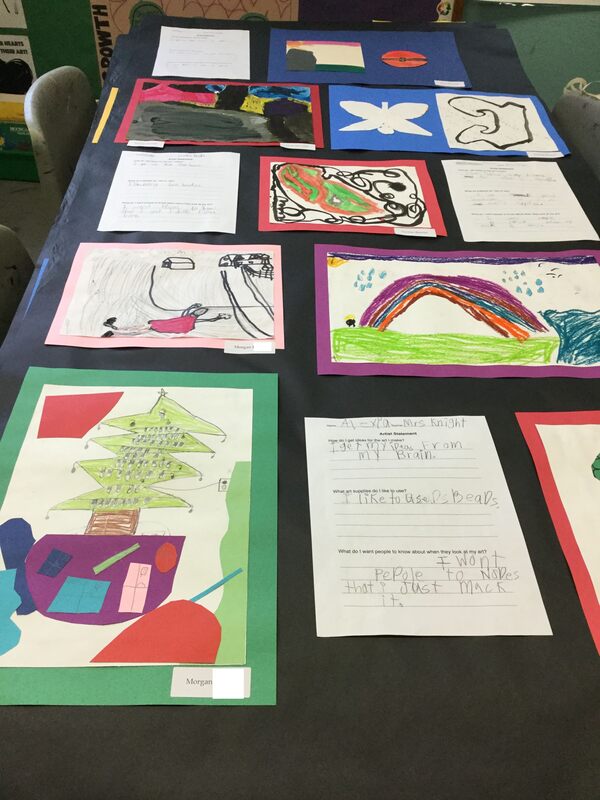 Lay out a bunch of artwork and artist statements. I tend to make clusters of kids' work, but you could also do something more thematic or go for a specific aesthetic. You'll get about 12 pieces of 12x18 work on each one, usually. Step three: 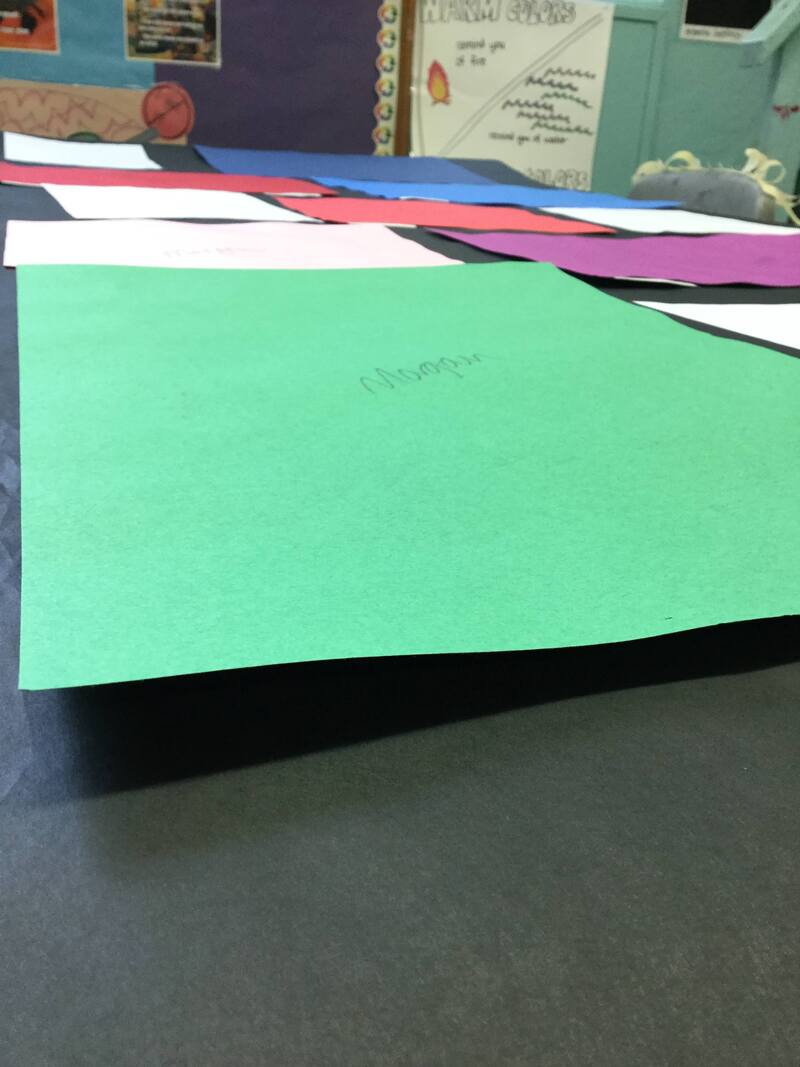 Flip em face down. Sing that Missy Elliott song as you do this. It is worth it, and you can work it! I know you can! Step four: 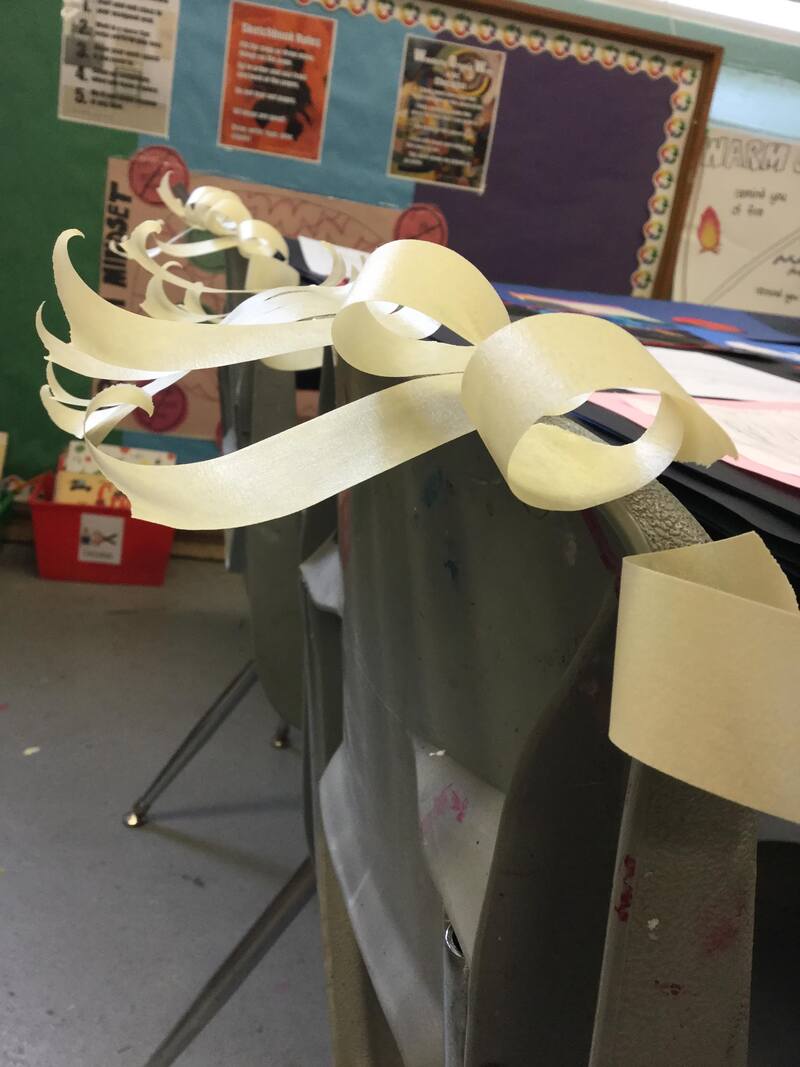 Prepare masking tape strips. I wait til a few days before and buy the good stuff from the store myself, as I do not trust the school supply of tape. Do not be tempted to roll and stick them now. Just tear them and set them on the edge of a chairback or the table. One thing at a time. If it soothes you to count, know that you need 4 strips for each piece of work. Step five: 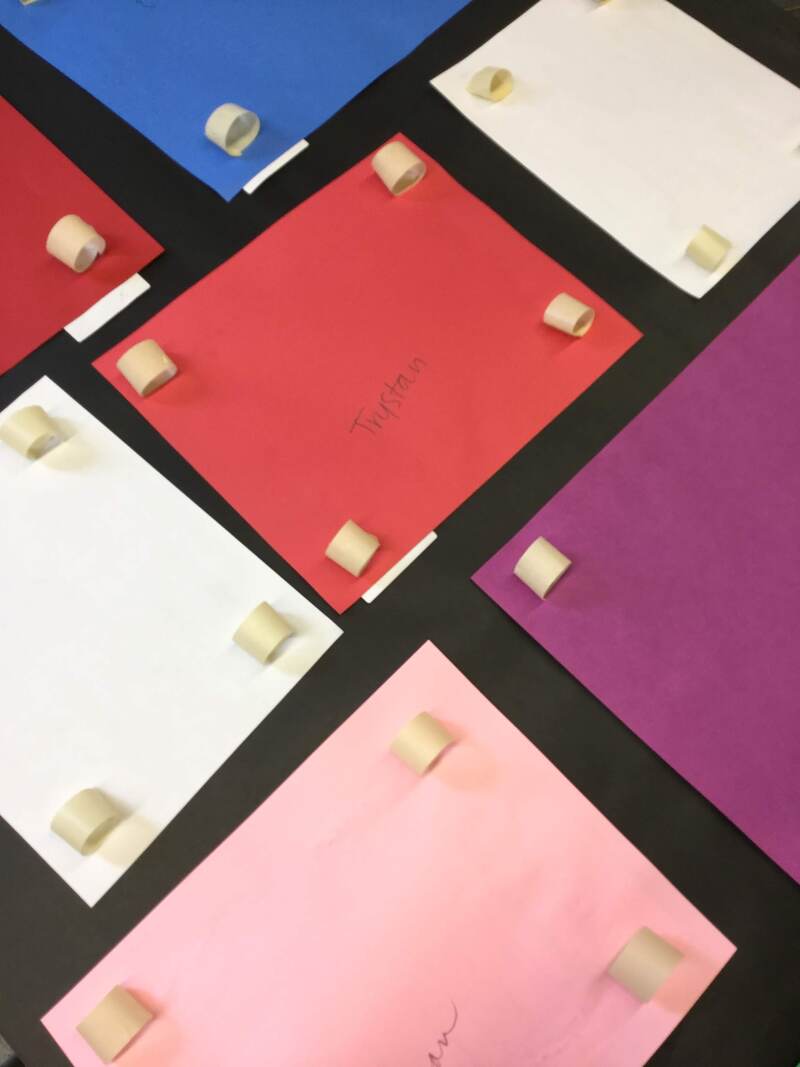 Roll and stick. Note the placement of the rolls - when the panel is hanging vertically from the wall, they will be in cup orientation, rather than wheel orientation. This prevents artwork from rolling down the wall on little tapey wheels. Step six: Yes, this is the same photo, whatever. Flip it over again and push em down real good. Here's another soundtrack opportunity just waiting there for you. Step seven:  Roll out another piece of paper right on top of this and begin again. Do not ignore or change this step. Having a stack of panels is key to being able to move them around and eventually out of your art room, as the papers will all protect one another from folds and dents. If you have 1 or 2 inches of panels, you can gently flop them into thirds and move them as needed and not have to worry about harming the work. Now, teach grades 5 & 6 to do this. Do one whole panel in front of them, talking it through. Then have them get into groups and have them curate their own panels. Be prepared for some decisions to be made that you may not have made yourself. This is all ok. They are the artists, remember? You're just the tourguide. 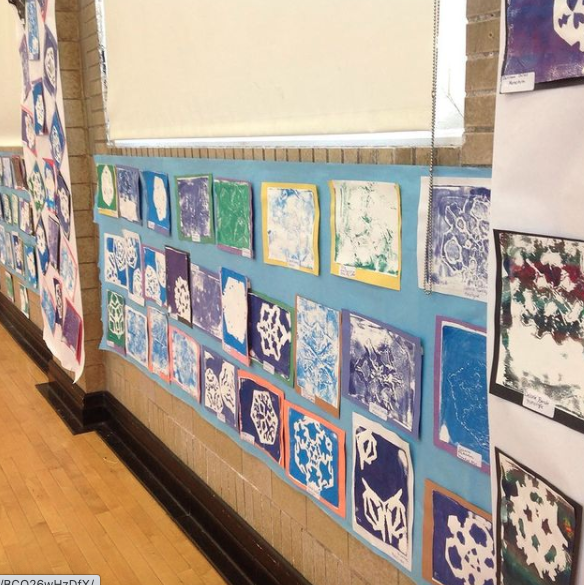 Kid-curated art show panels.
Stay tuned for more about art show prep in the next post! 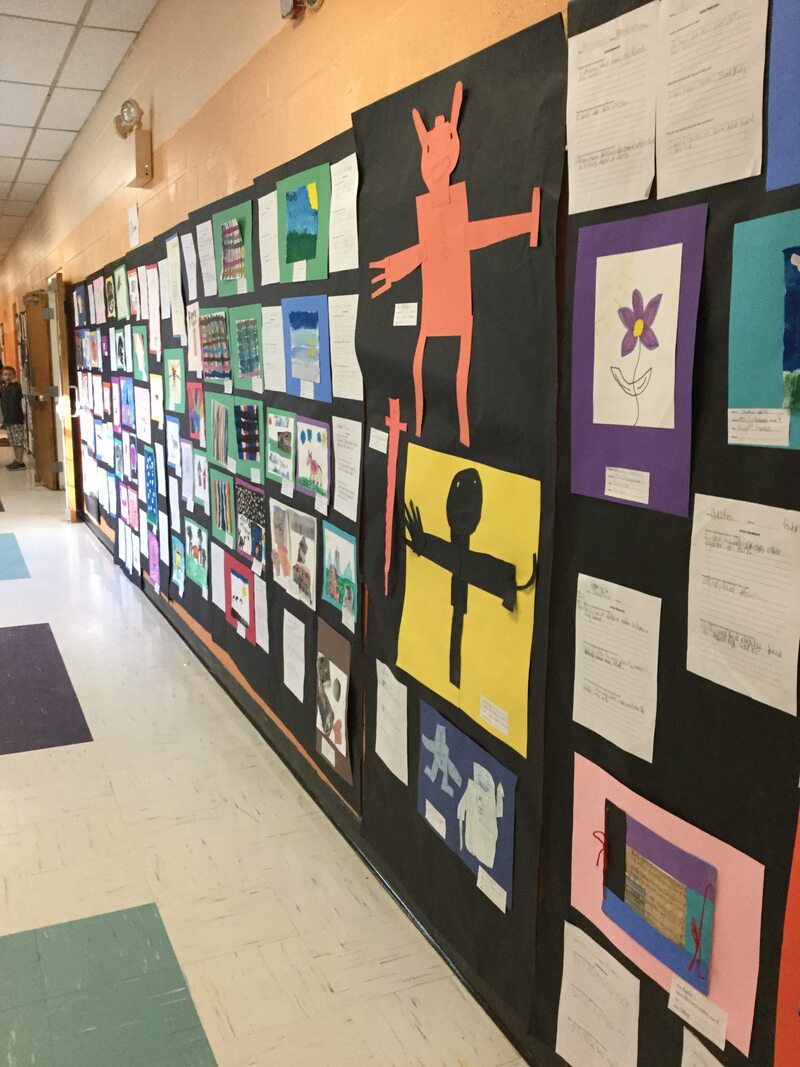 Forget coralling kindergarteners when they haven't yet learned how to human, forget dealing with the grueling daily schedule, setting up an elementary school art show is probably one of the hardest things K-6 teachers deal with, and one that causes months of anxiety. I have the solution. It's a system, and you have to commit to it, but it will be worth it. 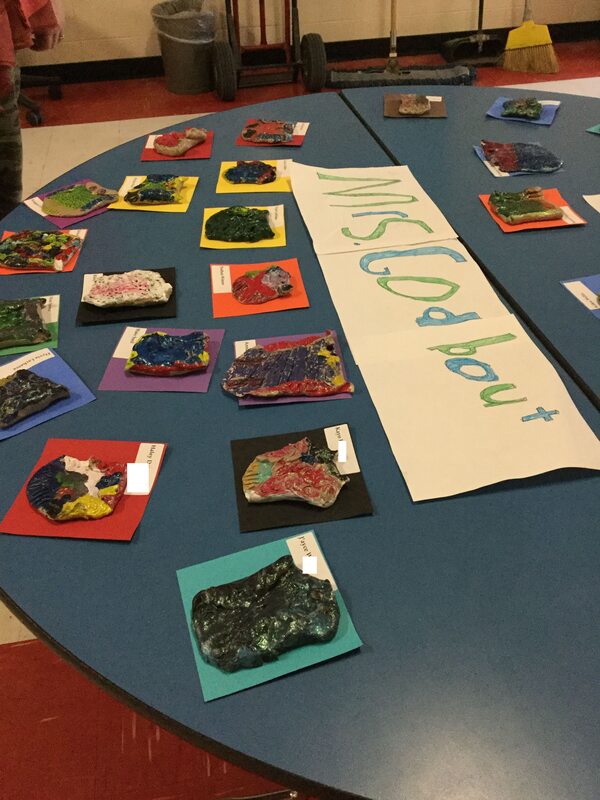 First of all, the stuff you probably know. Stay organized and keep EVERYTHING.
Next, enlist the kids for as much as possible. About 1 month before art show time, start this process. If possible plan to have a school vacation week in there somewhere. First step is to lead conversations with all grade levels (yes, even K) about what an art show is, why it's important, and how it's a special event. Talk about how you decide what your best work is. Have each class come up with 3 or 4 things they think about when they decide that something is their best. Nice metacognitive moment, and you will be impressed and please with what the youngest artists will say. It's probably going to be something like "I worked really hard, it looks cool, and it's about something I like". Realistically, any reasonable criteria work, because every class is going to have a different culture, and all artists are different! Have them use this list to go through their portfolio and choose 3-5 of their best pieces, including any 3D work you've been hoarding. For K, that's it for now. For 1&2, talk about the fact that when something is special to us, we sometimes do things to help others know that it's special. We might make sure it's clean and flat, with no oopsy smudges, and we might set it up in a way that makes people notice it. This segues into having them choose a color of construction paper to mat the work on. Talk briefly about contrast and harmony but don't make too big a deal out of it. They will pretty consistently make solid color choices. Have them hand you their stack of work with the colored paper under each piece. For 3&4, do the first two things, plus teach them how to mat their own work. Here is a poor quality old video I made to show how to do this. Use liquid glue and have a "squisher" setup (drawing board, heavy books). Emphasize thin lines of glue and a finger-width away from the edge of the drawing, plus make sure they write their name on the back of the mat unless it's on the front of the art. For 5&6, all this, plus they will eventually be curating their own panels of artwork for the show. More on this to come in the next post! 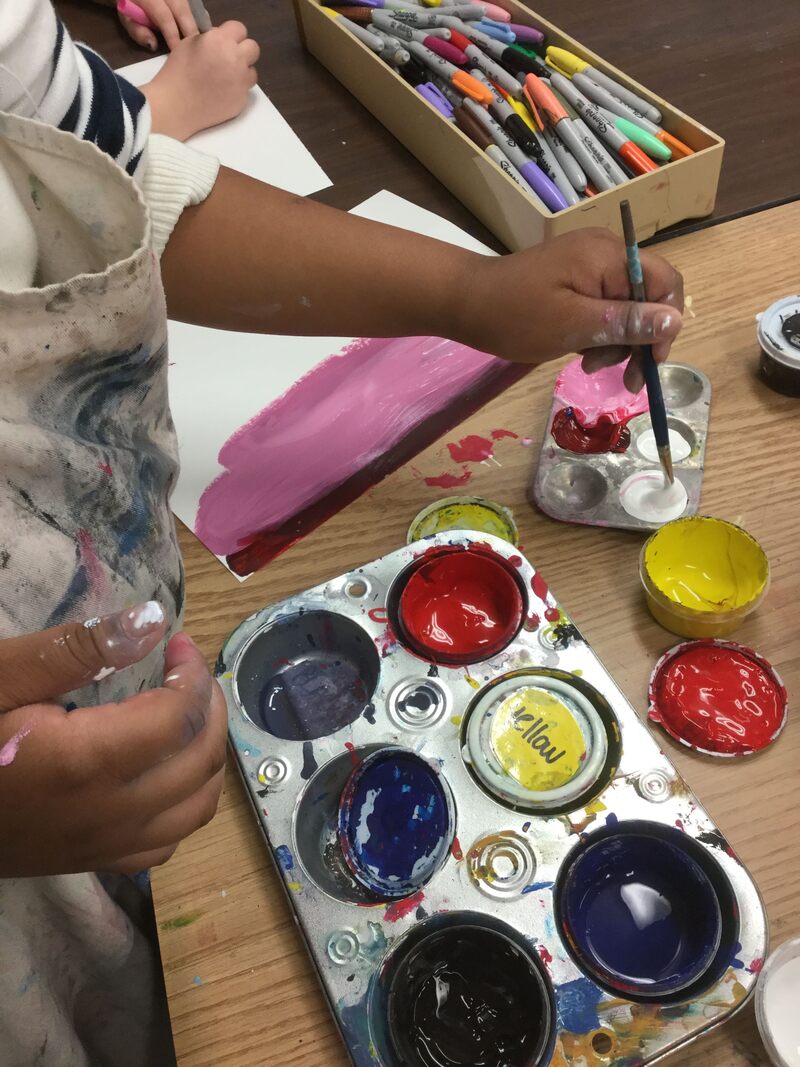 I will never stop raving about this. This is THE way to distribute liquid paints and underglazes to kids without a lot of fuss and bother. Dollar store 6 cup muffin tin or rectangular plastic takeout container or a large plastic pencil case, tiny lidded containers (dollar store ones are best as they are more sturdy, but condiment cups work in a pinch), labels, and you are done. Benefits:
For best results, label both the lid and the side of the cup. I would recommend a laminated or otherwise waterproofed color-coded label on the lid for accessibility purposes. This will help your emergent readers start to associate the color with the written word and will be appreciated by all. I attempt to teach my kids to use any empty spaces to store the lids, which is not always something they will do, as you can see :) 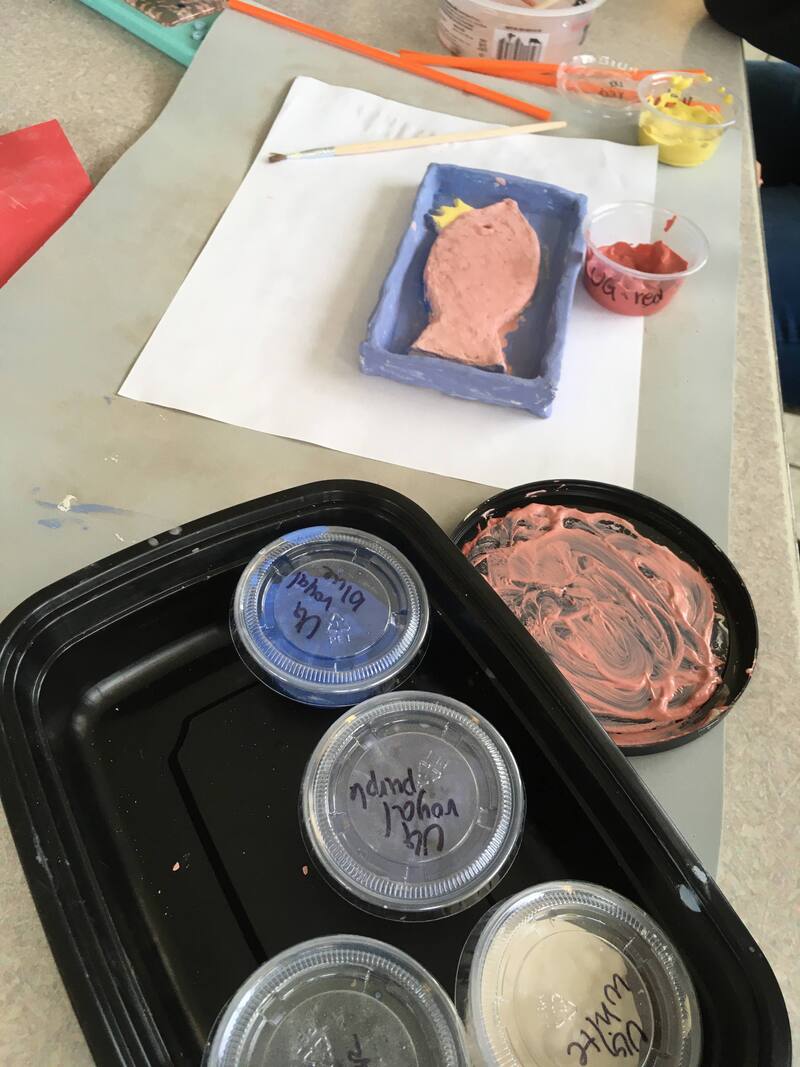 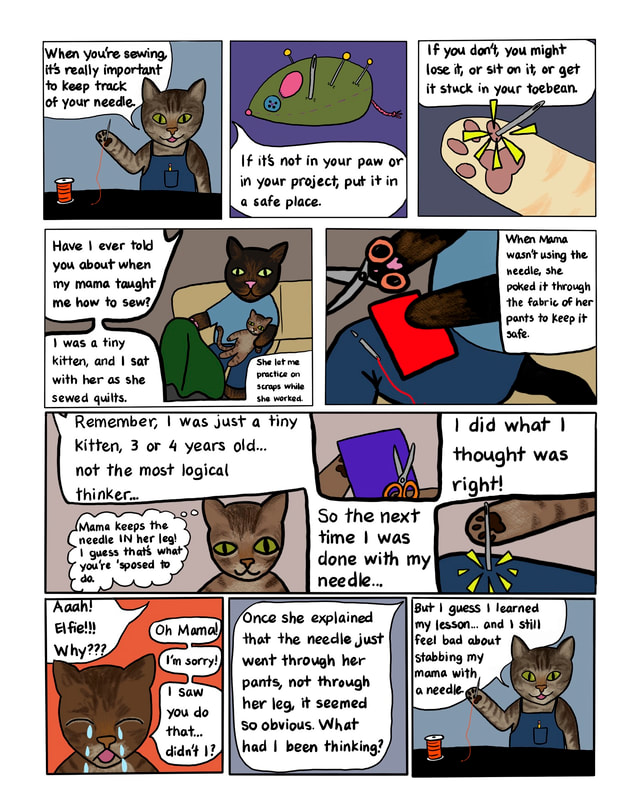 This is my first exploration into using comics as a classroom management strategy. This one tells the story of how I learned how to keep my needle in a safe place. Sorry, mama!
|
About MeI have 9 years of art teaching experience in grades K-12. I recently finished an MA in Art Ed at AOEU. This blog is a collection of thoughts and resources for art teachers. Archives
September 2022
Categories
All
|
 RSS Feed
